Install a Management Server on your Kubernetes Cluster
Prerequisites
-
Kuberentes cluster - can be any cluster, including on your on-premise network. Please note that Stack Automation does not support cluster nodes on ARM architecture.
-
Outbound Ports for Kubernetes Cluster Nodes must be open to allow Stack Automation to access and communicate with the cluster.
-
Command-line with kubectl installed connected to your cluster. To connect to the cluster use:
kubectl config use-context <your-cluster>For further reading on connecting to clusters hosted on your cloud, check these links: EKS, AKS, GKE.
-
One or more target namespaces on the cluster where the Stack Automation management server will create resources.
-
Authentication and permissions - The management server will need sufficient permissions to create the deployment's cloud resources. There are a couple of ways to provide the permissions, depending on where the deployment resources will be created.
-
To create K8s resources (Pods, services, secrets... etc.) using K8s manifests or helm charts, create a service account with sufficient permissions to create the K8s resources. For Example:
Let's say that you would like to run your deployments in a namespace called "my-ns". Use the below commands (change to your real namespace name) to create the appropriate service-account:
kubectl create serviceaccount my-ns-edit-sa --namespace=my-nskubectl create rolebinding my-sa-edit-rb --clusterrole=edit --serviceaccount=my-ns:my-ns-edit-sa --namespace=my-ns -
To create resources on your cloud using Terraform:
- If your cluster is an EKS (resources will be created on AWS):
- (Recommended) Create a designated service account annotated with an AWS role. See Terraform Authentication on EKS for details. Or,
- Ensure that the Cluster service role has sufficient permissions to create the deployment.
- If your cluster is an AKS (resources will be created on Azure): Provide the account's authentication credentials when creating the management server in Stack Automation. For details, see Terraform Authentication on AKS.
- If your cluster is a GKE (resources will be created on GCP), see Terraform GKE Authentication.
- For other types of clusters, or if you want to connect to your AWS/Azure with your basic credentials, there is no built-in authentication with Stack Automation so there are no pre-requisites related to authentication and permissions. You can store your cloud credentials in the Stack Automation secret store and use them for your TF deployment.
- If your cluster is an EKS (resources will be created on AWS):
-
Setup
- Navigate to Resources → Management Servers.
- Click New Management Server in the top-right corner to open the Connect a Management Server wizard.
- In the Setup step, choose Cloud, then Public Cloud, and select the tile for your Kubernetes provider — Azure, AWS, GCP, Oracle, or the generic Kubernetes tile for a self-managed or other cluster.
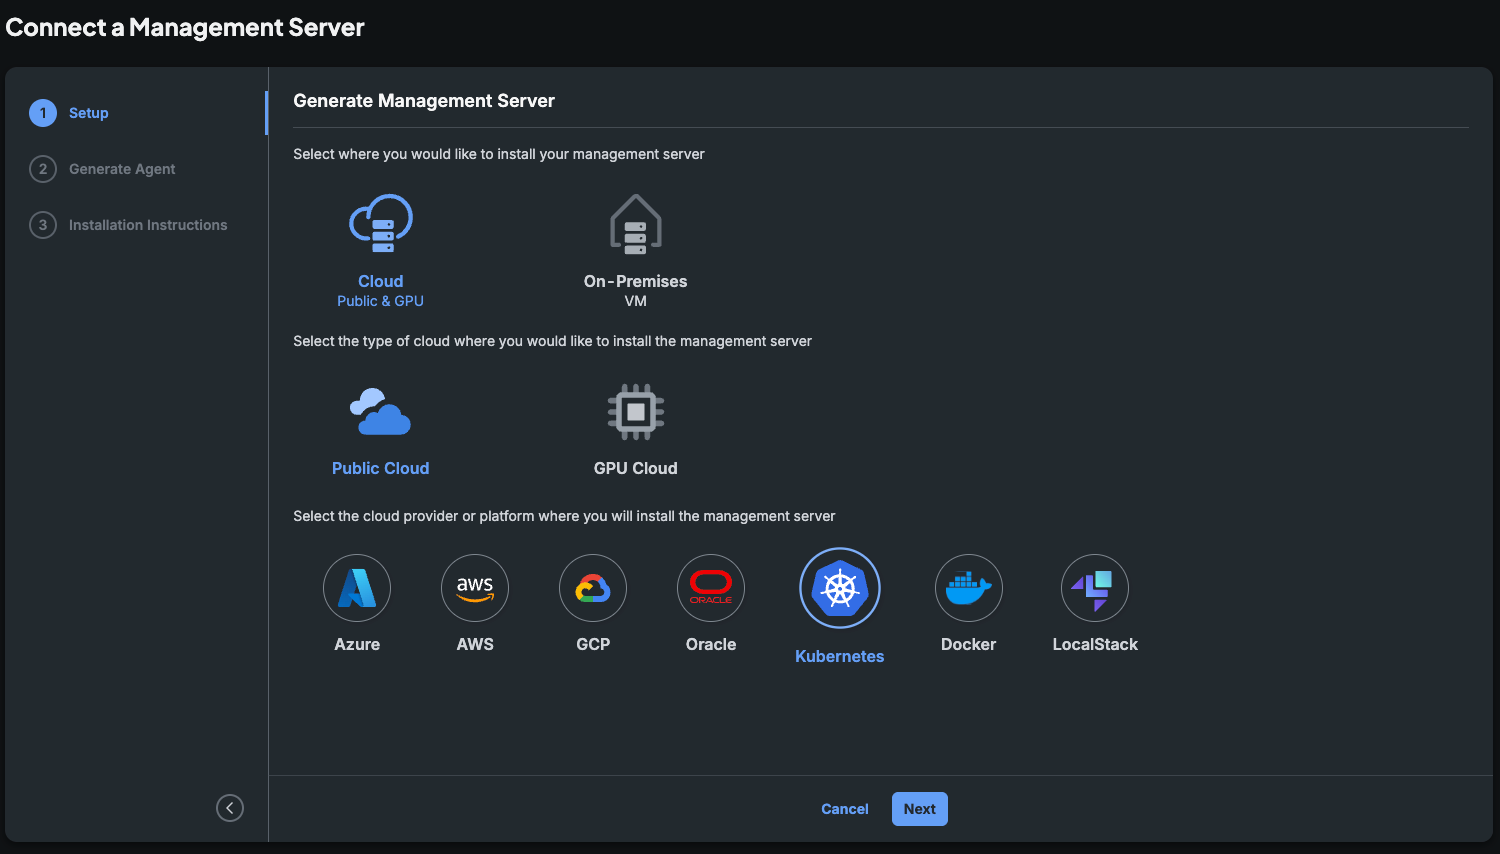
- Click Next.
- In the Generate Agent step, give the management server a name (and, for Azure, optionally a tenant ID), then click Next.
- On the Installation Instructions step, copy the generated command.
- Paste the command in a command-line window connected to your cluster to deploy the management server. For example:
kubectl apply -f https://stackautomation.cisco.com/api/settings/executionhosts/deployment/k***roi/deployment.yaml - A Connected status is displayed in Stack Automation, indicating that the management server was successfully installed and can communicate with Stack Automation.
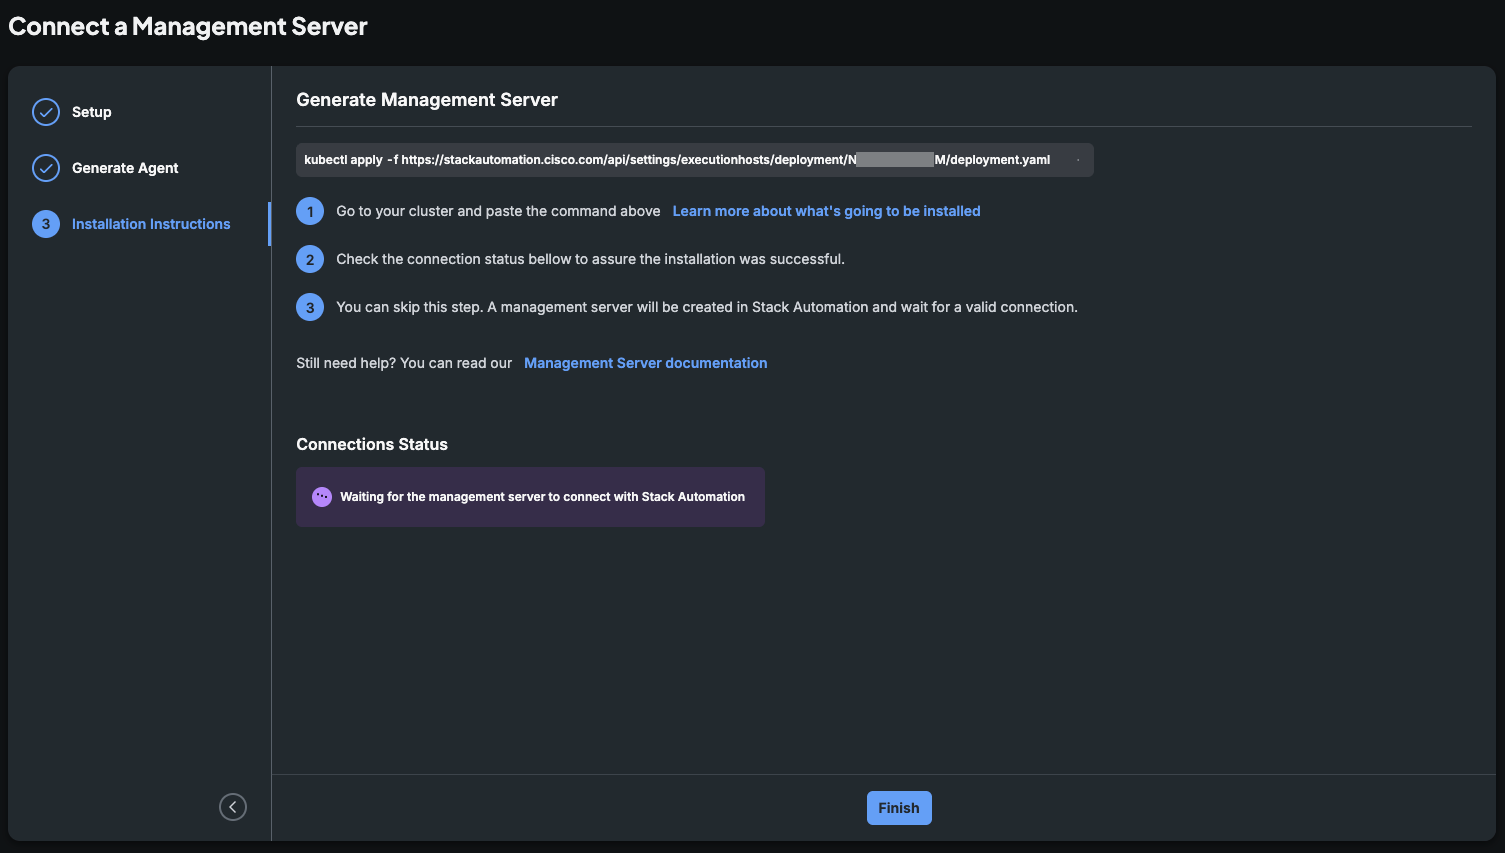
- Click Associate to Space to connect the management server to a space, and provide the details you obtained in the prerequisites section.
Troubleshooting
If the management server fails to connect with Stack Automation, you can try the following to identify the problem.
Replace the "agent-namespace" with your management server's namespace. You can find it in:
Resources → Management Servers → Identify your management server → Click on the 3-dot menu → Edit Management Server → Advanced K8s settings:
- Make sure the management server pod is running and healthy. You can run the following command on your cluster:
kubectl get pods -n <agent-namespace> -l app=torque-agent - Make sure outbound http connection to Stack Automation is open:
and also
kubectl exec -it $(kubectl get pods -n <agent-namespace> | grep torque-agent | awk '/'$2'/ {print $1;exit}') -n <agent-namespace> -- /bin/sh -c "curl -v https://stackautomation.cisco.com/hub/agent";kubectl exec -it $(kubectl get pods -n <agent-namespace> | grep torque-agent | awk '/'$2'/ {print $1;exit}') -n <agent-namespace> -- /bin/sh -c "nmap -p 5671 acrobatic-lime-gerbil.rmq3.cloudamqp.com"; - Check the management server pod logs. You can run the following command:
kubectl logs $(kubectl get pods -n <agent-namespace> | grep torque-agent | awk '/'$2'/ {print $1;exit}') -n <agent-namespace>
The torque-agent pod label, container name, and internal hub path shown above are the literal Kubernetes/API identifiers and are unaffected by the Stack Automation rebrand — only the product-facing name changed to "management server."