Journey Tab
The Journey tab lives next to Overview on the Stack Automation admin Overview page. It tracks the user's onboarding progress through a guided "Getting Started" checklist.
Purpose
The Journey tab is intended to drive new-user activation: each Go button deep-links into the relevant part of the product (e.g. the Solution Hub, Resources page, or Management Server install flow) so users can complete the step directly from the checklist.
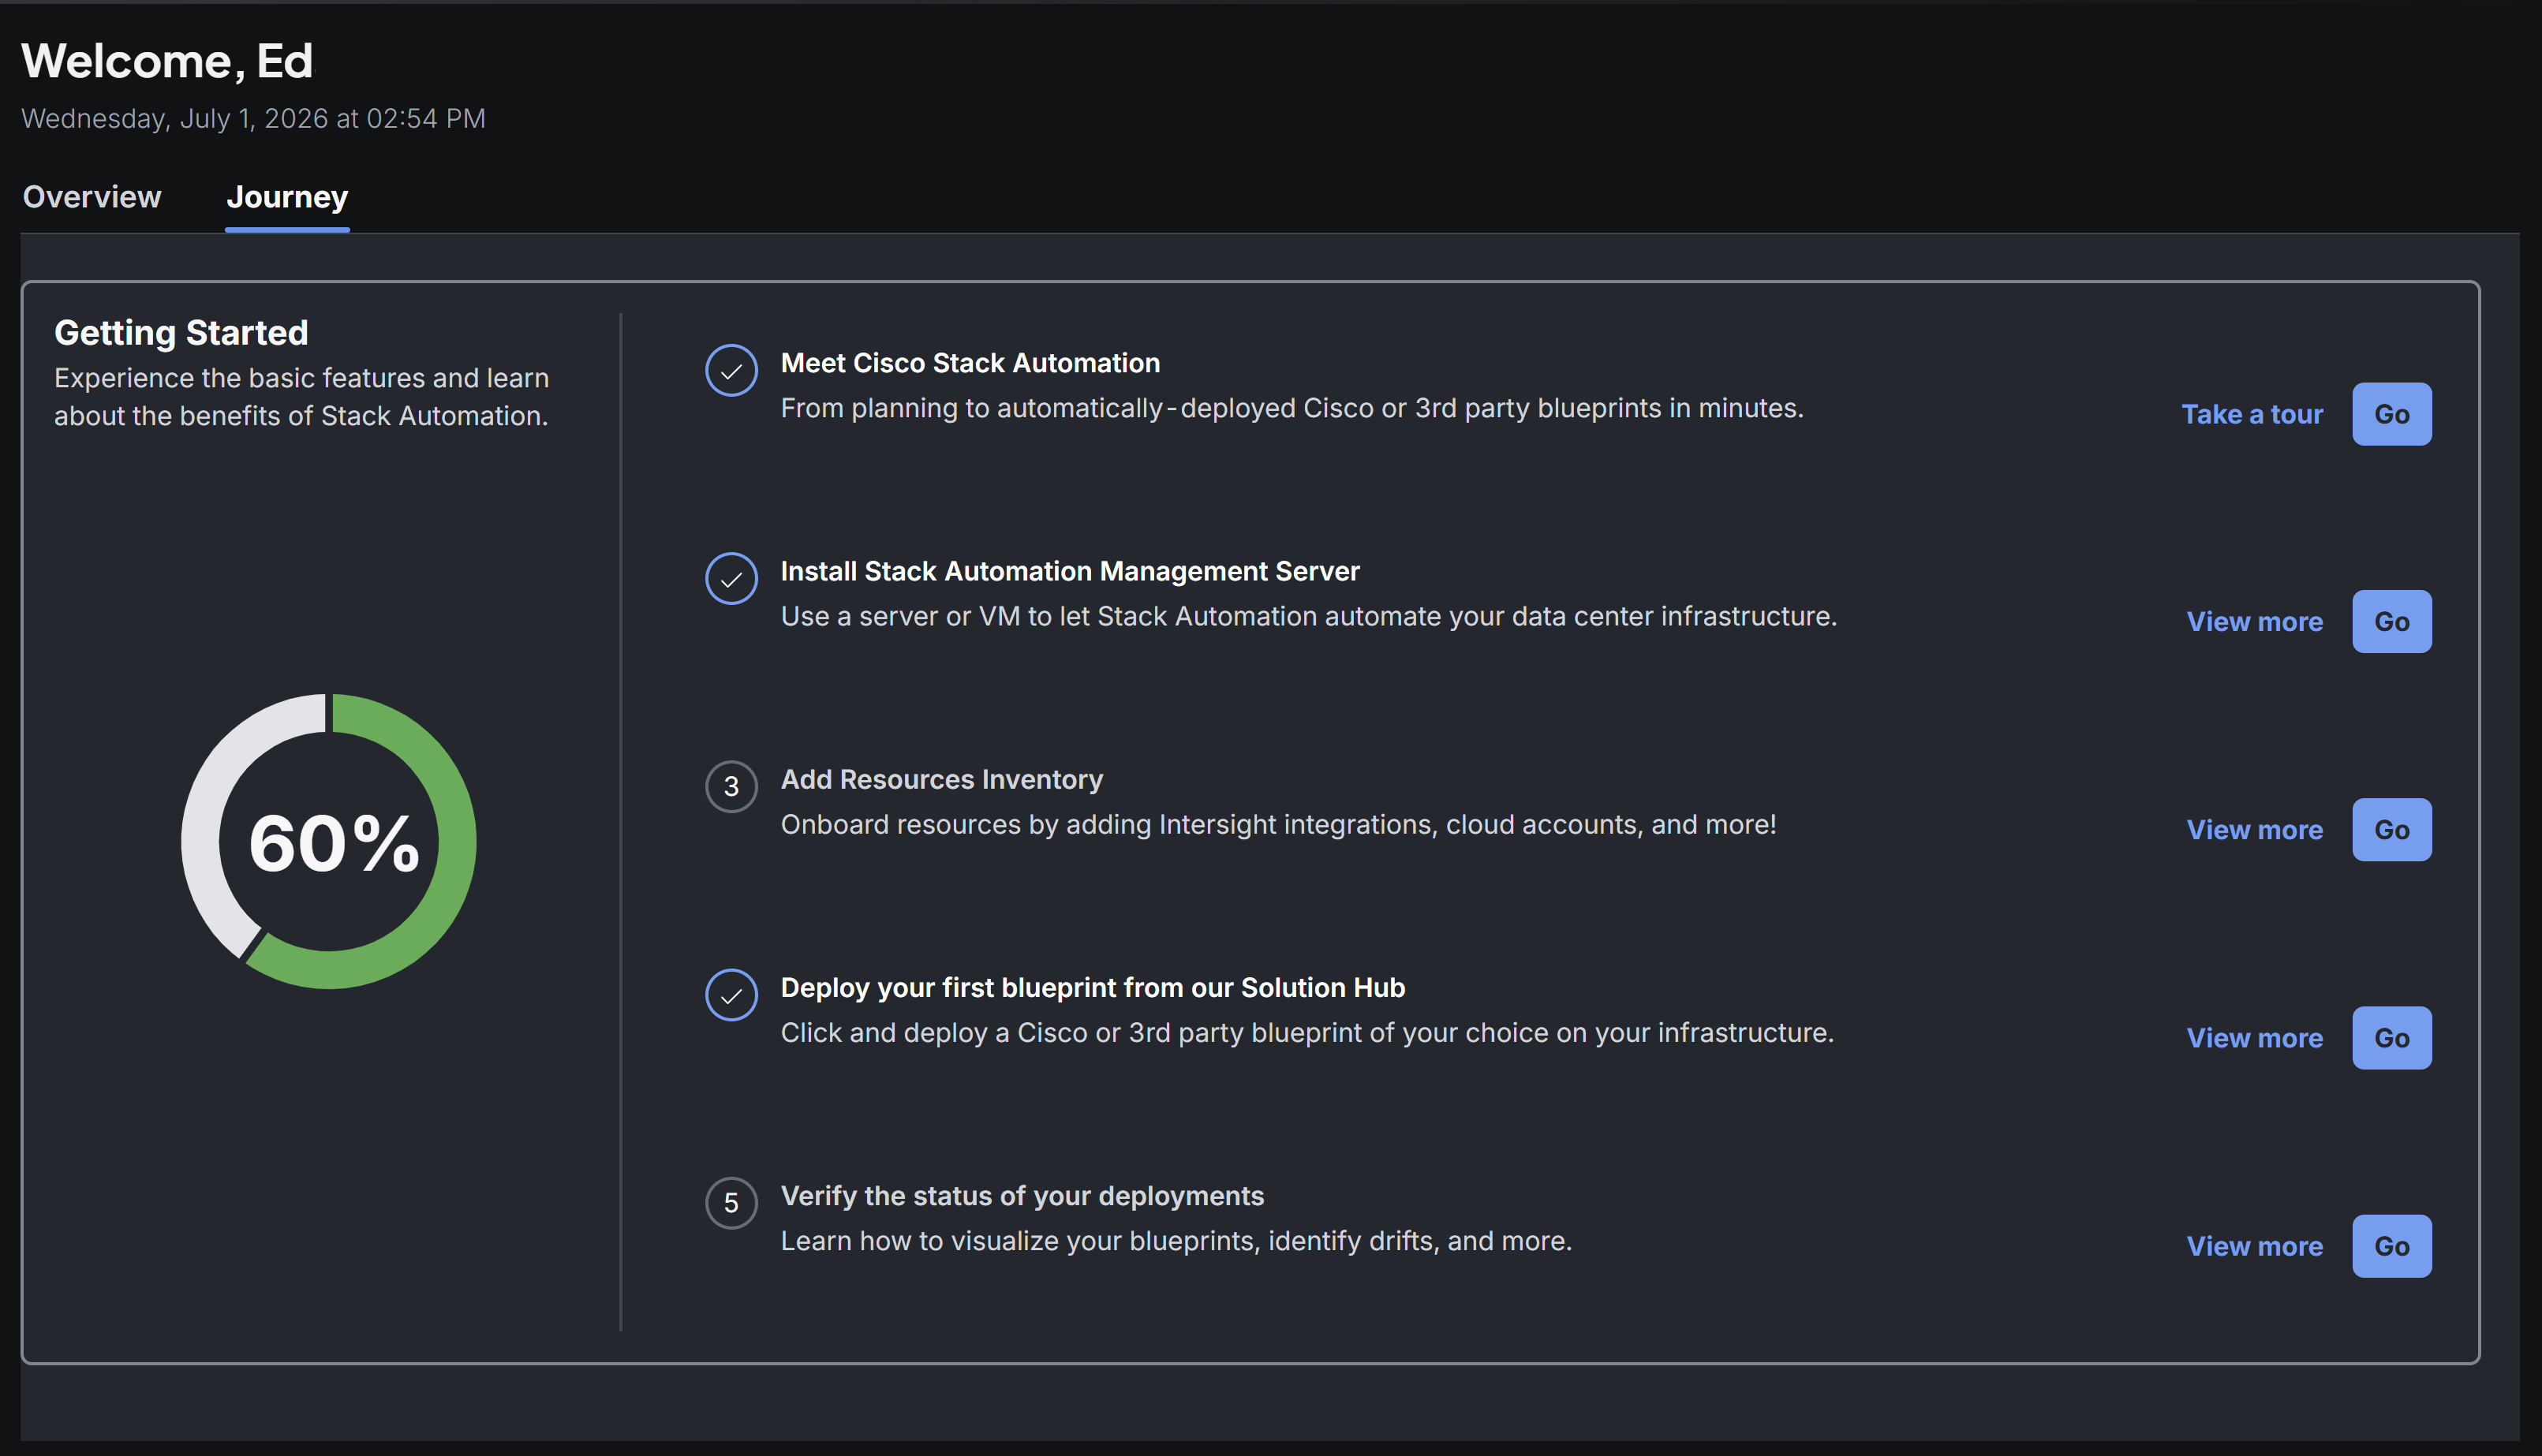
Getting Started panel
On the left side of the tab, a Getting Started card explains the purpose of the checklist ("Experience the basic features and learn about the benefits of Stack Automation.") and displays an overall completion donut chart — according to the users completion of the tasks.
Onboarding steps
To the right, a vertical checklist walks the user through five onboarding steps. Completed steps show a checkmark icon; steps not yet started show their step number. Each step has a description and a Go button (some steps also offer a secondary Take a tour / View more link):
| # | Step | Description |
|---|---|---|
| 1 | Meet Cisco Stack Automation | From planning to automatically-deployed Cisco or 3rd party blueprints in minutes. |
| 2 | Install Stack Automation Management Server | Use a server or VM to let Stack Automation automate your data center infrastructure. |
| 3 | Add Resources Inventory | Onboard resources by adding Intersight integrations, cloud accounts, and more! |
| 4 | Deploy your first blueprint from our Solution Hub | Click and deploy a Cisco or 3rd party blueprint of your choice on your infrastructure. |
| 5 | Verify the status of your deployments | Learn how to visualize your blueprints, identify drifts, and more. |
As an example: with 3 of 5 steps complete, the completion ring shows 60%, matching the checklist state above.