Deployment Annotations
Please note that the "Deployment Annotations" feature will be deprecated as of end of 2024 and will no longer be supported or available.
We recommend transitioning to our new "Deployment Labels" solution, which offers enhanced capabilities and improved integration.
Thank you for your understanding and support.
Deployment Annotations: What They Are and How you can leverage them to optimize processes
Deployment annotations are labels or metadata that can be added to deployments to provide additional information about them. Annotations can be used to define the purpose, status, or configuration of a deployment, as well as to track changes or updates.
Annotations in Stack Automation are key-value pairs that can be added to a deployment or resource using a specific syntax or format. They can be used to add descriptive information, such as the description of a deployment, or to provide dynamic updates, such as the current status of a deployment or the results of a test.
Annotations can help teams manage and organize deployments in Stack Automation by providing an easy way to track and communicate important information about them. For example, annotations can be used to indicate the power-state status of virtual machines in the deployment.
Deployment annotations are a powerful tool for managing and organizing deployments, and can help teams streamline their software development and testing processes by providing clear and concise information about the resources they are working with.
To create a deployment annotation:
Since deployment annotations are dynamic attributes of the deployments, Stack Automation uses rego files and the policy engine to evaluate the annotation upon any change in the deployment.
Step 1: Create a rego file
- In your git repository, create a rego file with torque.annotation package name.
- The input to the rego evaluation is the introspection data from the deployment. i.e a list of all the deployment resources and their attributes, as a json object. The object will vary depending on the exact deployment resources, but its overall structure will be as follows:
{
  "introspection_resources": [
    {
      "attributes": {
        "att1": "att1",
        "att2":  "{\"key\": \"value\"}"
        ...
      }
    },
    {
      "attributes": {
        ...
      }
    },
    {
      // more resources
    }
  ]
} - Using the introspection input, create your rule for the annotation and return an object named "set_annotations" with the following structure:
"set_annotations" = ["key" : "key1", "value" : "value1"]
Let's take a look at a full example of how this rego file would look. In this evaluation file, we are evaluating the power state of virtual machines inside the deployment. If there is even one virtual machine which is running, we will annotate the deployment with "Power:On" annotation. If all of the virtual machines are stopped, the annotation will be "Power:Off".
package torque.annotations  // Use this as the first line to signal to Stack Automation that this file is for evaluating deployment annotations.

default set_annotations = [{"key": "power", "value": "off"}] // Unless we will find at least one running VM, we will return this default annotation of "Power:Off".

set_annotations = [{"key": "power", "value": "on"}] {

  resources_with_power_state_running = {r | r = input.introspection_resources[_]; r.attributes.power_state == "running"}
  // In this case, every virtual machine has an attribute named "power_state" which can be either "running" or "stopped". We are iterating through all the power_state attribute values which are equal to "running".

  count(resources_with_power_state_running) > 0 // If there is at least 1, we return "Power:On".
}
Currently the only supported annotations are "power:on", "power:off" and "power:torque.remove". We will add more annotations and open it for custom annotations soon. "torque.remove" is a general annotation value which may be used with any key. It signals to Stack Automation to remove the annotation completely from the deployment. A good example of when to use it is when the deployment is ended.
Step 2: Import the rego file into Stack Automation
-
If the git repository where the relevant rego file resides was not yet connected to Stack Automation, perform the following :
- Go to Governance > Policy Repositories and click Add a Repository.
- Select the git repository, specify the repository's URL, and give it a name.
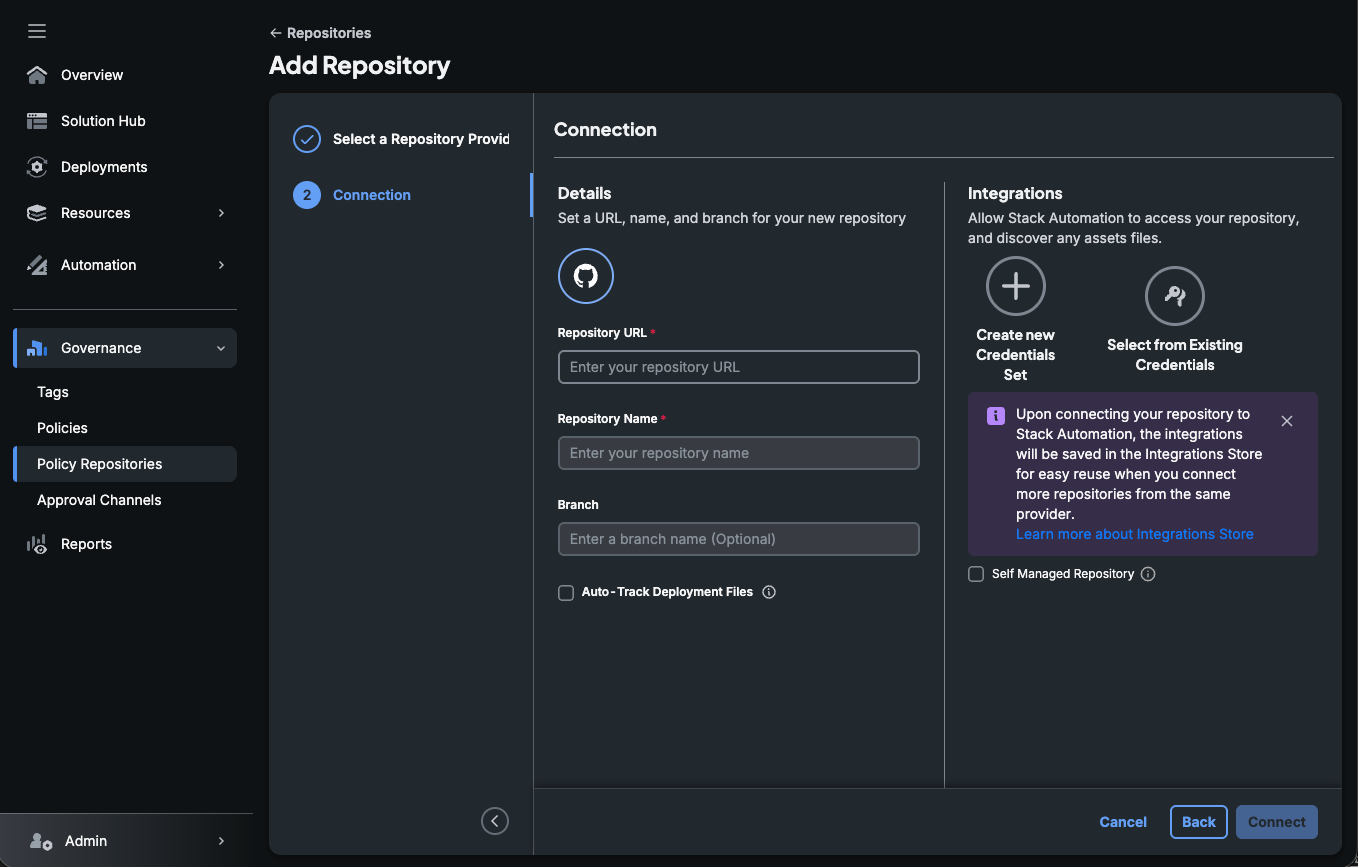
- Click Connect. Provide authorization credentials if the repository is private.
-
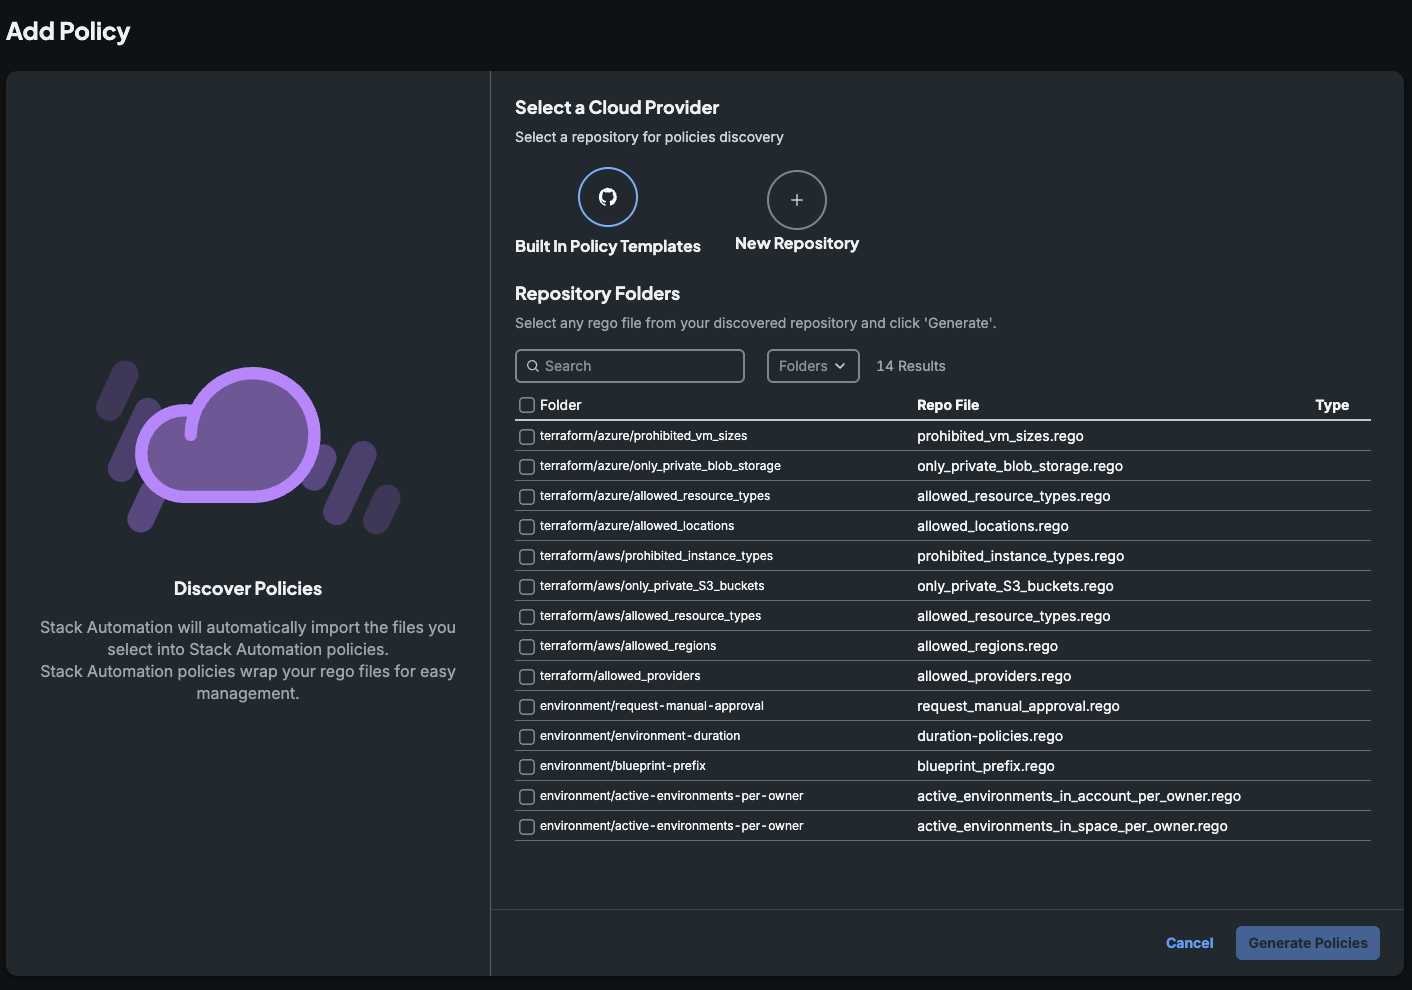
On the added (or existing) repository where the file resides, Click Discover Policies.
-
Select the policies you want to import into Stack Automation, and click Generate Policies.
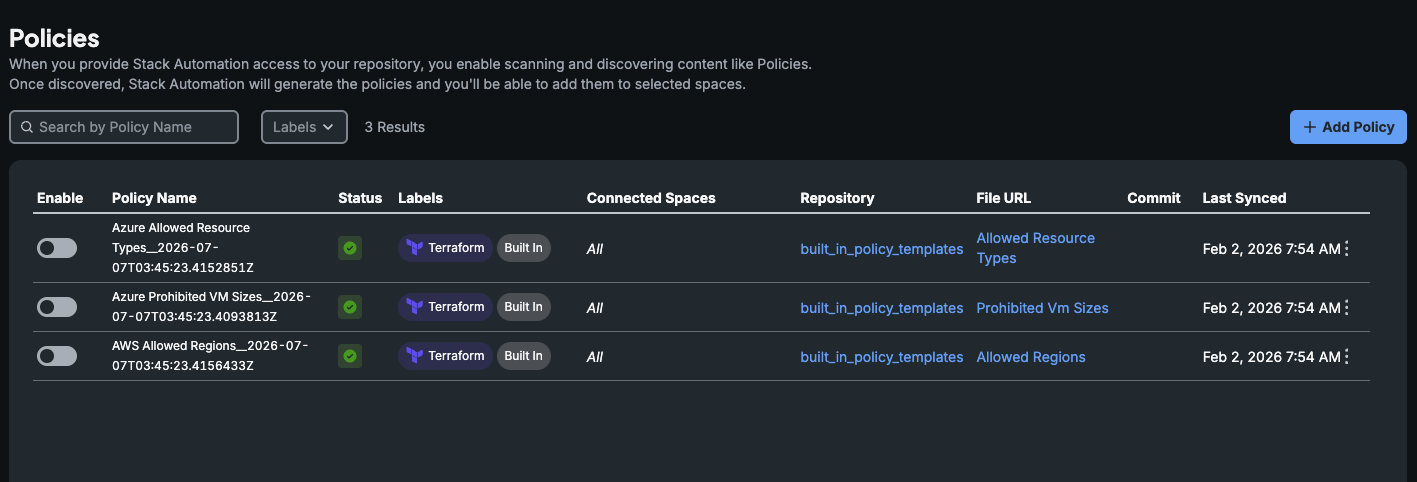
The policies are displayed in the Policies page.
-
Click a generated policy and edit the details.
a. Optionally change the Name, and provide a Description.
b. In Spaces, set the scope of the policy - All spaces or specific ones.
-
Click Save.
-
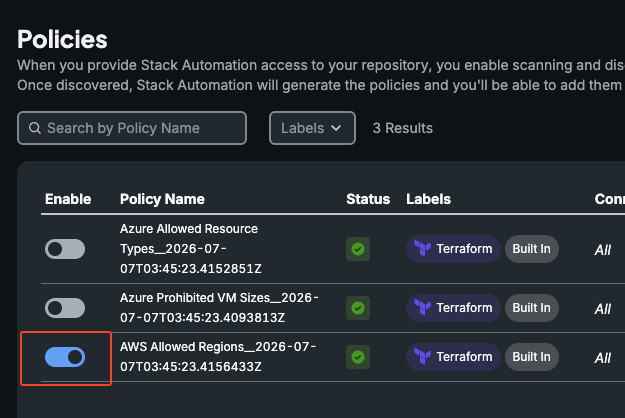
Enable the policy.