Publishing to the Solution Hub
Publishing to the Solution Hub is a fundamental part of providing self-service access to infrastructure and applications. Enabling Solution Hub on an IaC asset or a blueprint makes it visible as a catalog card that other users in the space can launch on their own.
You can enable Solution Hub (and its counterpart, Building Block — which instead makes an asset reusable inside the visual blueprint designer, see Blueprint Design) from any of these places:
- The Assets page, under either the IaC Assets or Blueprints tab — each row has its own Solution Hub and Building Block toggle columns, so you can flip them in bulk without opening each item.
- Inside a blueprint's own details, under its Overview tab — use the Show in Solution Hub / Hide from Solution Hub and Add to Library buttons.
- Inside an IaC asset's own details page, from the top bar — the toggle there is labeled Self-Service, but it's the same Solution Hub flag.
We recommend the following process when publishing an asset or blueprint to the Solution Hub:
- Head to the
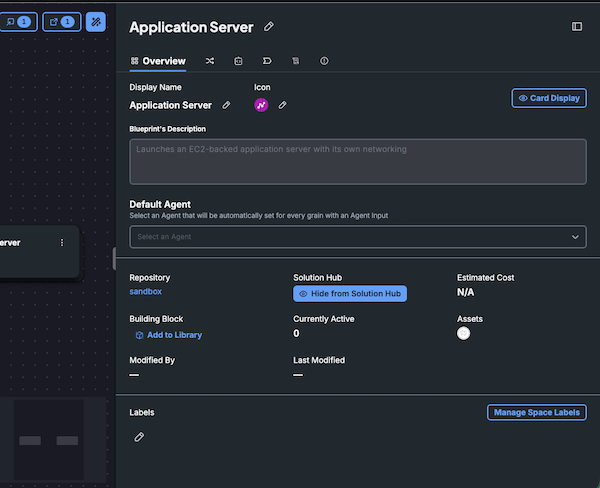
Assetspage underAutomationand open the item (IaC asset or blueprint) you would like to publish. - Its Solution Hub Design screen (or, for a full blueprint, the Overview tab) lets you specify:
-
Display Name: This name can be different than the asset's or blueprint's file name from git.
-
Category Icon: Choose from a list of default icons or upload your own. Notice the icon needs to be in SVG format.
-
Solution Hub: Show or hide this blueprint in the Solution Hub.
-
Building Block: Add/remove this blueprint from the Building Blocks Library.
-
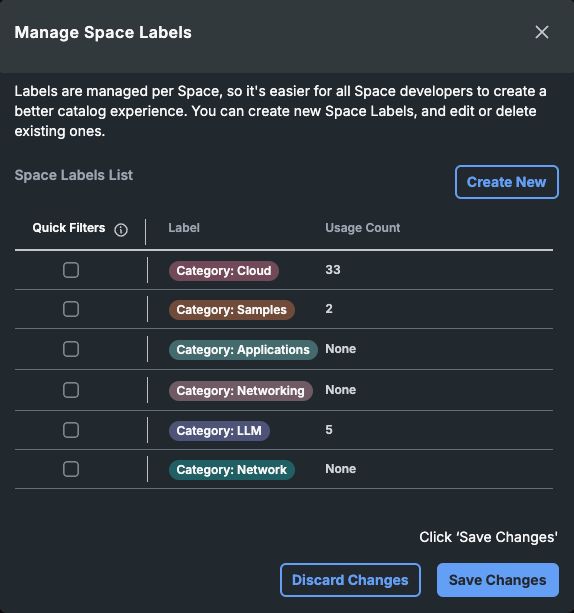
Labels: These are an important part of additional data designers can add in order to assist consumers when selecting an item from the catalog. In order to create a new label click on Manage Space Labels.
-
In the dialog click on Create New, specify the label name and color then click save. Now in the Blueprint Labels area the new label will be available.
-
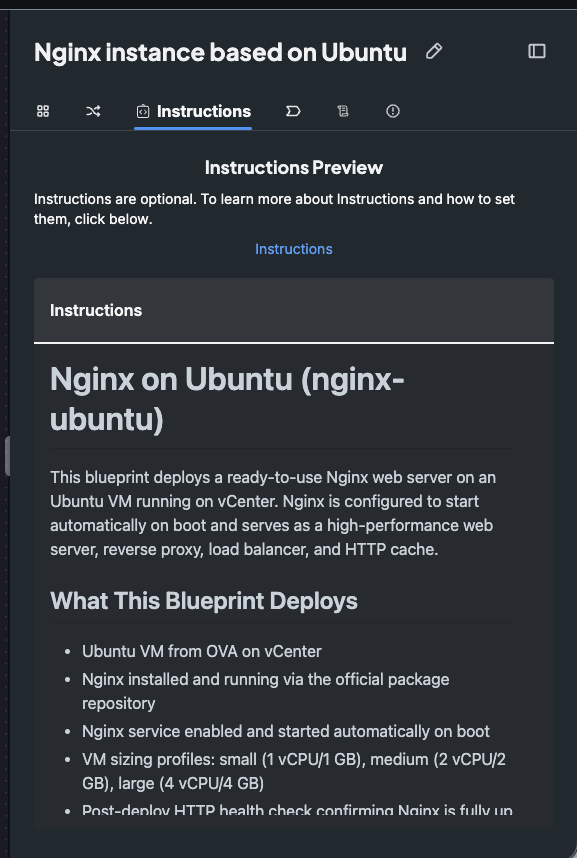
Instructions (full blueprints only): When adding instructions to the Blueprint (see link) this is where you can see the end user view of the instructions.
-
Policies (full blueprints only): Set the Blueprint consumption policies according to the description here.
-
Note: The entire process and publishing data is in the scope of the space.